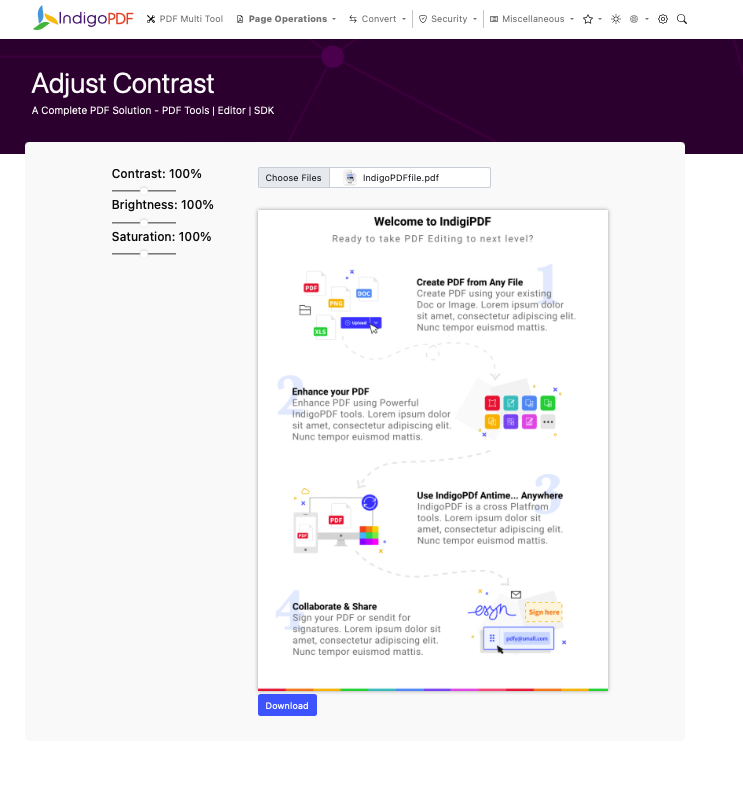
Indigo PDF provides a user-friendly way to adjust the contrast, brightness, and saturation of your PDF documents visually. Here’s how you can do it:

- Open Indigo PDF: Launch the Indigo PDF application on your computer.
- Upload Your PDF: Upload the PDF document you want to adjust for contrast, brightness, and saturation.
- Access the Visual Adjustment Tools: Look for the “Adjust” or “Image Adjustment” feature. These options are typically found in the “Tools” or “Image” menu.
- Adjust Contrast:
- Find the contrast slider or setting and adjust it as needed. You can typically move the slider to the left to decrease contrast or to the right to increase contrast.
- Visually inspect the changes to your document until you achieve the desired level of contrast.
- Adjust Brightness:
- Locate the brightness slider or setting and make the necessary adjustments. Moving the slider to the right increases brightness, while moving it to the left decreases it.
- Observe the impact on your document and adjust until you’re satisfied with the brightness.
- Adjust Saturation:
- If you want to adjust the saturation of colors in your document, find the saturation slider or setting.
- Increase the saturation by moving the slider to the right for more vibrant colors, or decrease it by moving the slider to the left for a desaturated look.
- Apply and Save Changes:
- Once you’ve made the visual adjustments for contrast, brightness, and saturation, apply the changes.
- Save the modified PDF document, typically by clicking a “Save” or “Download” button.
- Confirmation:
- You will receive confirmation that the contrast, brightness, and saturation adjustments have been successfully applied to your PDF document.
By following these steps, you can visually fine-tune the contrast, brightness, and saturation of your PDF files using Indigo PDF, which is particularly useful for enhancing the visual quality and legibility of your documents.

