To convert images to PDF using Indigo PDF, follow these steps:
- Image Selection:
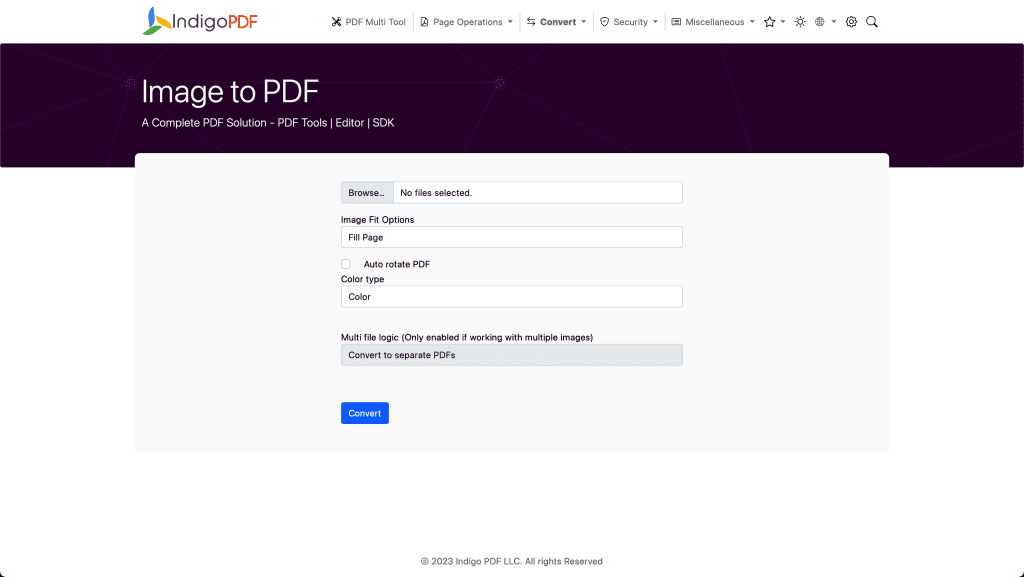
- Click the “Choose File” or a similar button to select the image or images you want to convert to PDF. You can typically choose multiple images if you want to create a multi-page PDF.
- Image Fit Options:
- Select how you want the image(s) to fit in the PDF. You can typically choose from options like “Fill Page,” “Fit Page to Image,” or “Maintain Image Aspect Ratio.” These options determine how the image is placed on the PDF page.
- Auto Rotate PDF:
- If your images have varying orientations, you can choose to enable “Auto Rotate PDF.” This feature automatically adjusts the page orientation to match the image orientation.
- Color Type:
- Choose the color type for your PDF. You can typically select from options like “Color,” “Grayscale,” or “Black and White.” Your choice affects how the images are displayed in the PDF.
- Multi-File Logic (if applicable):
- If you are working with multiple images and want each image to be a separate page in the PDF, ensure that the “Convert to separate PDF if Multi file” option is enabled.
- Start Conversion:
- Click the “Convert” or “Start” button to begin the conversion process. The selected images will be converted into a PDF document based on your chosen settings.
- Save the PDF:
- After the conversion is complete, you will be prompted to save the newly created PDF. Choose a destination folder and provide a name for the PDF file.
- Confirmation:
- You will receive confirmation that the conversion process has been successful, and the PDF is saved to your specified location.
By following these steps, you can easily convert one or multiple images into a PDF document using Indigo PDF. This is a convenient way to create PDFs from image files, and you have the flexibility to customize the output based on your preferences.